
How to completely fix outage/dark cluster, combination meter, instrument panel, speedometer, or dash on a 2004 2005 2006 2007 2008 or 2009 Toyota Prius
To completely fix your cluster, combination meter, instrument panel, speedometer, or dash that is going out and causing other issues such as not being able to turn off vehicle, unable to open trunk, backup camera not functioning, and forcing you to reset your Prius by unplugging the white harness by the battery terminal, which will only solve the issue temporary; follow the next steps to fix it completely and avoid paying hundreds of dollars for a simple solution.
Heads up! You will need to remove dash and solder a capacitor in back of the speedometer, which should be a piece of cake if you follow the steps below.
Estimated time to complete the job is 1.5 to 3 hours, but make sure to take your time so you won’t beak any pieces.
Tools required for dash removal:
- Philips screwdriver
- Flathead screwdriver
- 10mm socket
- 12mm socket
- Ratchet with extension
Tools required for soldering capacitor:
- Soldering iron (preferrably a kit)
- 100uf 16v or 220uf 16v capacitor
- Capacitor meter (optional)
Links to products I suggest for the soldering part:
Soldering Kit
Capacitor 100uf 16v:
You might also want the capacitor meter so you can prove that the capacitor is underperforming, a regular multimeter won’t do it so make sure you get the correct capacitor meter with the UF capability. Here’s a link:
//ws-na.amazon-adsystem.com/widgets/q?ServiceVersion=20070822&OneJS=1&Operation=GetAdHtml&MarketPlace=US&source=ac&ref=qf_sp_asin_til&ad_type=product_link&tracking_id=gkautoblog-20&marketplace=amazon®ion=US&placement=B0036FQ3FW&asins=B0036FQ3FW&linkId=861a3c40bff10b06f5a7fac0fbfbb101&show_border=false&link_opens_in_new_window=false&price_color=333333&title_color=0066c0&bg_color=ffffff
Step 1: Remove the dash to get to the speedometer/combination meter. Watch this video that shows you step by step on how to remove it (don’t ship it to someone to get it fix like the guy does on the video, you can fix this yourself and save time and money; follow step 2 after): https://www.youtube.com/watch?v=pb19p8zYeTg&t=309s
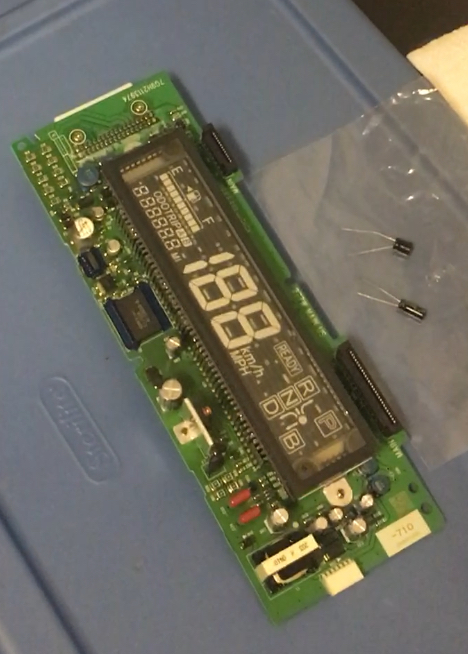
Step 2: Once the speedometer/combination meter is removed to the part where you can see the circuit board or electronic components inside, (example image below), locate the defective capacitor.
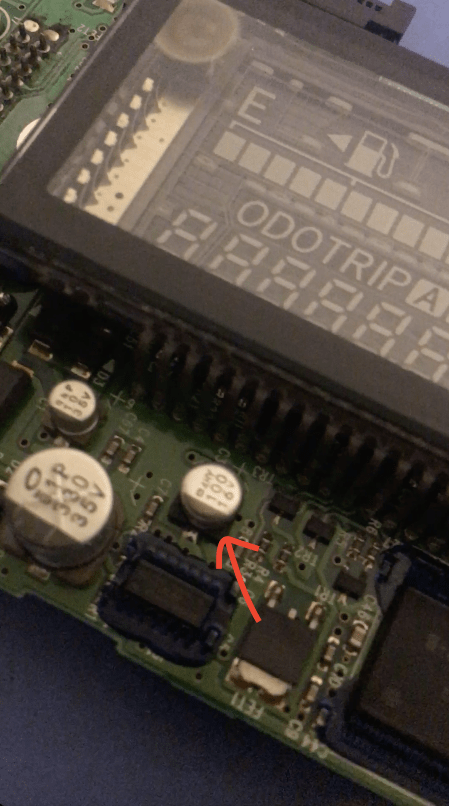
Locate capacitor 100 16v (example image below).
Now you can either solder a 100uf 16v on top of the 100uf 16v or remove that it and replace it with a 220uf 16v capacitor. I personally think it is easier to solder the 100uf 16v on top of that one. An example image of what I did shown below. You can probably do a better job than I did, this is my second time doing this.
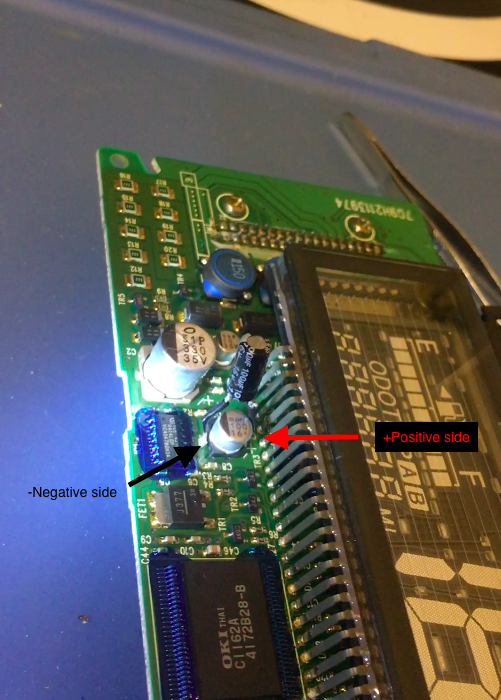
According to some forums and videos found online this capacitor is the only thing that is different in the new speedometer, which is said to be too weak to hold the capacity.
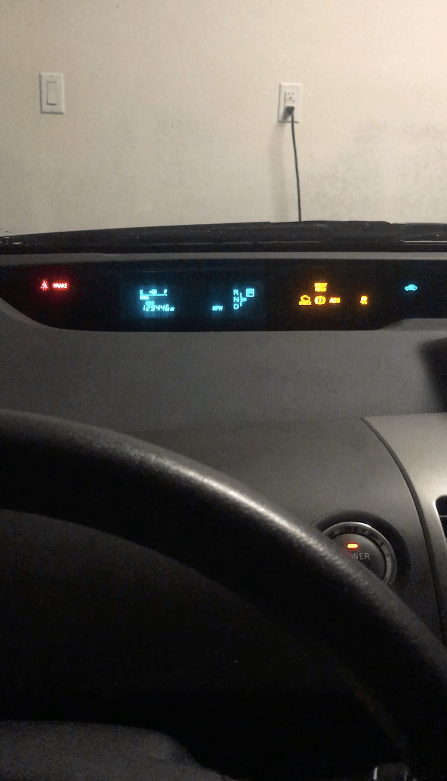
Step 3: Finally, you can put everything back together and enjoy your Prius again.
Feel free to comment below!

Thanks for your post. I was able to get my gauges working again by disconnecting the battery neg. cable but I now know how to fix the underlying problem.
LikeLike